My Catalogue
Retailers
Retailers by category
Products
Retailers
Retailers by category
Products
Advertisements
Home
>
...
>
Retailers
>
Bunnings Warehouse
>
Catalogues Bunnings Warehouse
Nearest
Specials may not be valid in all local stores.
Bunnings Warehouse - catalogues & mailers
Advertisements
Bunnings Warehouse catalogue - Magazine Autumn 2025
Valid at all Bunnings Warehouse stores
Show catalogue
Bunnings Warehouse catalogue - Magazine Autumn 2025
Valid at all Bunnings Warehouse stores
Show catalogue
Bunnings Warehouse catalogue
Valid at all Bunnings Warehouse stores
Show catalogue
Bunnings Warehouse catalogue - Outdoor Living Range Book
Valid at all Bunnings Warehouse stores
Show catalogue
Latest catalogues
5 May - 11 May 2025
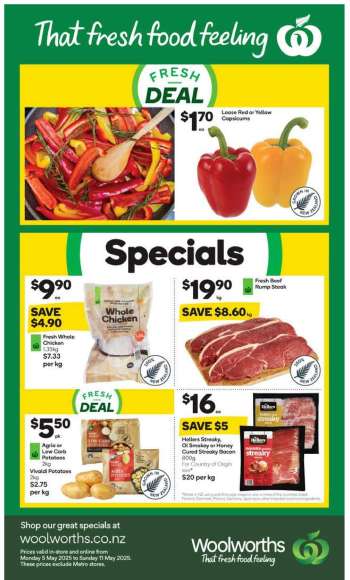
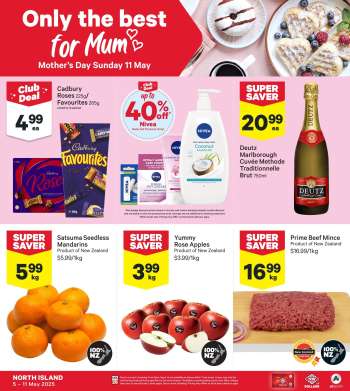
Woolworths catalogue - North Island
Show catalogue
5 May - 11 May 2025
New World catalogue - North Island
Show catalogue
1 May - 11 May 2025
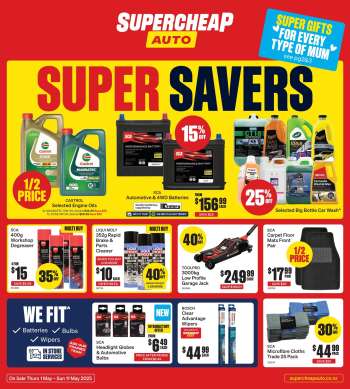
SuperCheap Auto catalogue - Super Savers
Show catalogue
28 Apr - 11 May 2025
Liquorland catalogue - UNREAL DEAL
Show catalogue
Retailers - hobby, diy and hardware
Bunnings Warehouse
all retailers